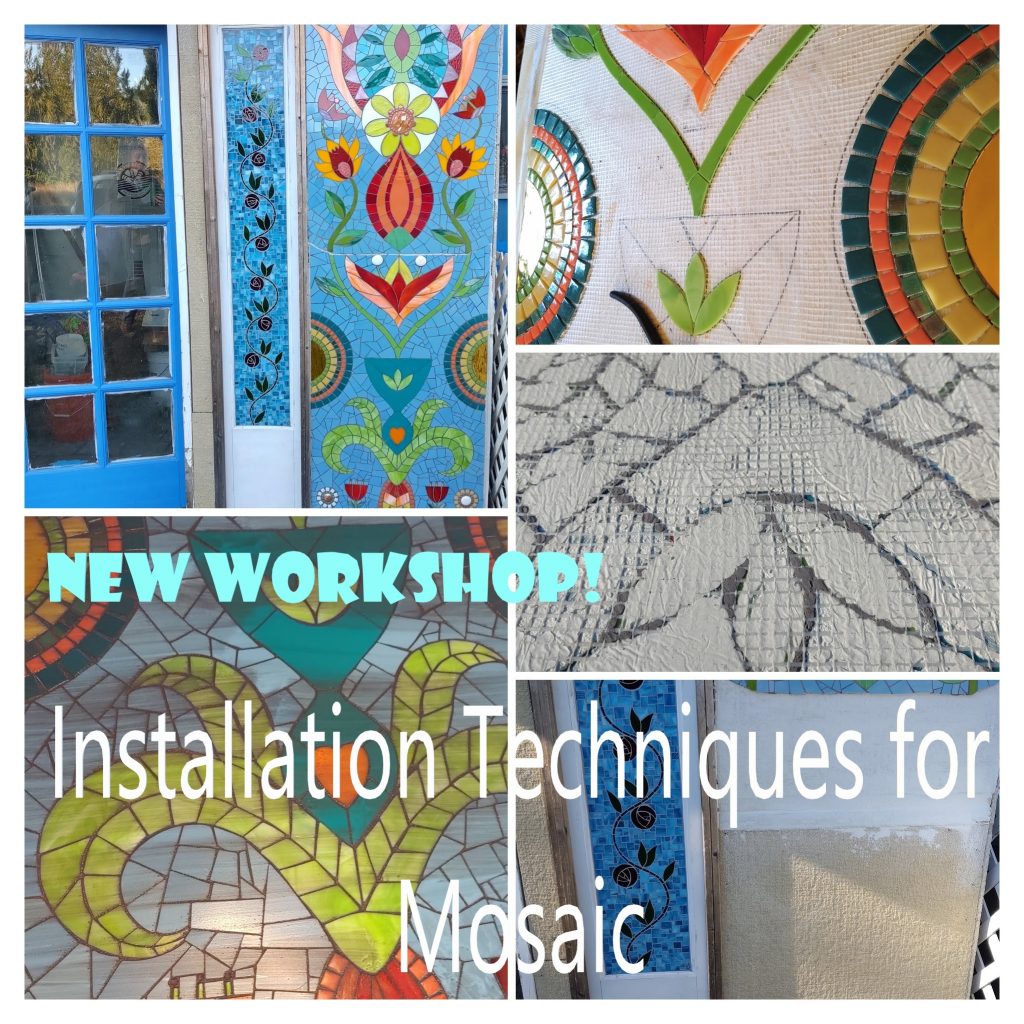
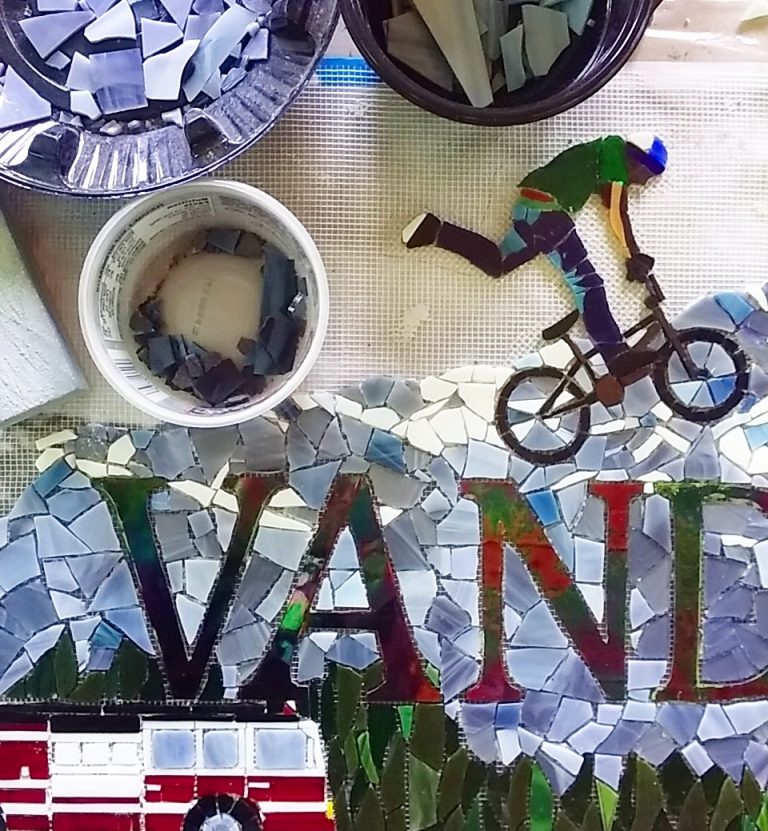
 Installation Techniques (Mosaic on Mesh), June 13-15 starting at 10am, scheduled until noon each day. *I will present the most important info in the beginning, and by the second hour, we may just be working on our projects. It will take you many hours to complete the mosaic for the first step, which is vital for the second day’s lesson. So, we’ll continue working after the zoom meeting is over, but it won’t be necessary to remain on the meeting once your mosaic is in progress. The second and third sessions will take less time.
I use this technique regularly in order to create the work in my studio for installation in other locations. Students will make an 8″ square mosaic during the first session, then pre-grout during a second session, and will transfer to a substrate during a third session. Each step requires time for the cement to cure, so we’ll need to have live sessions with down time in between. During sessions, I’ll walk you through the process, and I’ll talk about some of the different challenges I’ve faced with various installations.
*For this version of the class, I may install my demo piece directly on an exterior wall of my studio to show a vertical installation. You are welcome to install on any cement surface you have available as well. In my first version of this workshop, Angie Heinrich installed her project onto her concrete stoop with her phone propped up next to her so we were all able to see her process. It worked out great.
I am assembling materials kits that I will list as a separate item. If you have the supplies at home, you won’t need to purchase a kit. Here’s what you’ll need:
- fiberglass mesh -8″ x 8″
- thinset
- tesserae of your choice
- a stiff board, 8″ x 8″ or larger
- Clear plastic, can be a ziplock bag. (Not saran wrap or wax paper.)
- marginal trowel
- notched trowel
- Spreader for thinset (palette knife or similar)
- containers for mixing thinset and grout
- grout
- grouting sponge
- dry lint-free rags
- spatula or grouting squeegee of your choice
- gloves for grouting
- water
- 8″ x 8″ pattern
- 8″ x 8″ substrate (tile board like hardi, wedi, durock, etc.)
- cutting tools of your choice in keeping with your materials
Optional: something to mark cuts on your tesserae, safety goggles, dust mask for mixing thinset/grout.
If you need to order a kit, please do so asap so that I can get in sent off to you right away. Plan for it to take several hours to complete your square.
Deadline for ordering the supply kit is June 5 if you are not on the West Coast. June 9 for Oregon and WA. Also, you may pick up a kit from me if you are local to Olympia, WA or East Grays Harbor County.
Installation Kit
These are the supplies I have to mail out as a kit to accompany the Installation Techniques workshop. They include:
8″ x 8″ fiberglass mesh
2 lb Laticrete Platinum 254 thinset (white)
marginal trowel
notched trowel
dry erase marker (for marking cuts)
popsicle stick for mixing & spreading as needed
1/4 grout sponge
superfine steel wool
Sanded grout, in a color based on availability.
*If you need glass or tile, I have a listing for that in the supplies section.
*I have listed wheeled glass nippers separately for those who need them.
Supply kit is $25 plus shipping: $15= $40
*Unfortunately, I’m not able to include the substrate in the kit because I don’t have that on hand. You will need your own 8″ x 8″ tile board: hardi, wedi, durock or similar. Wits End Mosaic has perfect ready-to-hang tile board and has offered a discount for my students, plus lots of other tools and supplies. When you sign up, I’ll send you the code. *Does not include: substrate, dust mask, grout gloves (if you need some, let me know), tesserae, stiff board, cutting tools.


